When Remodeling a Kitchen, What Comes First?
A professionally executed kitchen remodeling is a surefire way to boost your home’s value. But how does one go about the process, and what can be expected from undertaking such a project? Choosing to remodel your kitchen is a big step, and we’re here to help you along that journey. Today, we’re taking a look at getting started on a kitchen remodel and covering the kitchen remodel steps that lead to a beautifully executed finish. When it comes to a job of this scope, many people will hand over the responsibility to a team of professionals. They’ll still need to take some pre-construction steps, like finding the right designers to work with and hiring kitchen remodel contractor professionals. Going with a design-build firm can combine these processes into a single step, ensuring your home remodeling process is professionally handled from start to finish by the same team. Some people will choose to challenge themselves and carry out parts of the remodeling process on their own by following DIY kitchen remodel steps. This option will still require professional intervention at certain points. Building an understanding of what a kitchen remodeling project looks like can help you decide on which route to take. especially when understanding the kitchen remodel process explained and the order of kitchen renovation.
Table of Contents
Kitchen Design & Planning
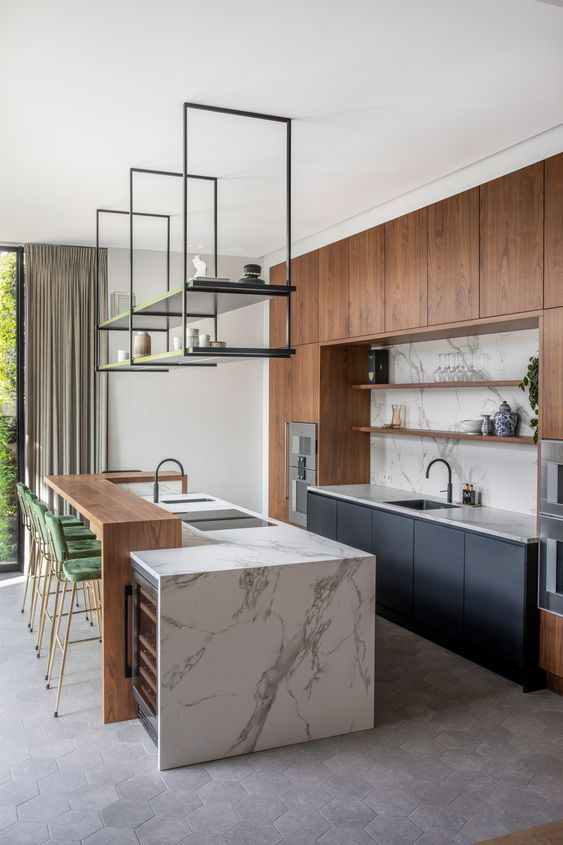
Once you’ve decided to remodel your kitchen, the first step is building an idea of what exactly you want. This stage answers what comes first in kitchen remodel planning. First, you have to define the scope of your project. Are you looking to change out a few appliances and repaint the walls, or do you imagine a whole new kitchen, including a layout redesign, new windows, and a fresh set of cabinetry? We recommend browsing kitchen design ideas online to develop an idea of your goals. Watching this video can also be a great way to start building your ideas as part of your kitchen remodel checklist.
If you’ve decided to work with a contractor, they’ll analyze your ideas and draw up a professional design and build plan to bring your vision to life. If you’re going the DIY route, it will be up to you to finalize your ideas and decide how to proceed from there using a structured kitchen remodel checklist.
Demolition & Tear-Out
After the area is cleared out, the next step in your kitchen remodeling is getting the rough-in work done. This includes framing, electrical work, and plumbing that might be needed for your new kitchen design as part of the kitchen remodel process explained. The amount of work required here will depend on the scale of your remodel. An entire layout change will require a lot more than changing up a few light switches.
Depending on your plans, the rough-in process can take between a few days and a few weeks, which plays a key role in your overall kitchen remodel timeline. Unless you are fully confident in installing electrical wires and plumbing systems, it’s best to leave this step to a professional. Unfortunately, household electrical voltage is high enough to be deadly.
Completing the Rough-In Work
After the area is cleared out, the next step in your kitchen remodeling is getting the rough-in work done. This includes framing, electrical work, and plumbing that might be needed for your new kitchen design as part of the kitchen remodel process explained. The amount of work required here will depend on the scale of your remodel. An entire layout change will require a lot more than changing up a few light switches.
Depending on your plans, the rough-in process can take between a few days and a few weeks, which plays a key role in your overall kitchen remodel timeline. Unless you are fully confident in installing electrical wires and plumbing systems, it’s best to leave this step to a professional. Unfortunately, household electrical voltage is high enough to be deadly.
Getting a Professional Inspection
Following the completion of your rough-in work, a professional inspection is needed as part of the kitchen remodel inspection process. This ensures that all of the work that’s been done so far in the kitchen remodel is up to code. Generally, those working with professional contractors will have no problems at this step. Not only do most contractors handle inspections for you, but they’ll also fix potential errors themselves. If you chose to undertake the process yourself and didn’t pass inspection, calling a licensed professional to help you get there may be the best choice, especially when following the kitchen remodel process explained.
Hanging & Painting the Drywall
The next step after a successful inspection is finishing the walls. Your design plans start coming into play here, as you see your new kitchen taking shape once you hang, tape, and finish the drywall as part of the kitchen remodel steps.
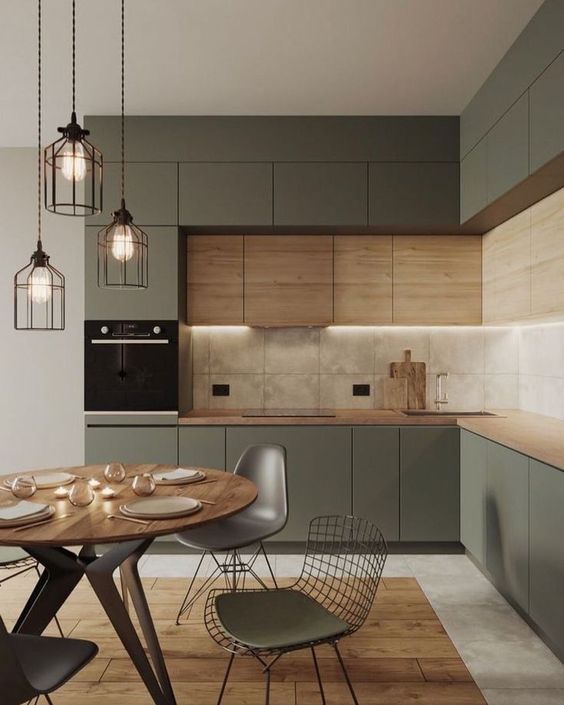
Then comes a monumental turning point in your remodeling process: painting. The color scheme you choose to go with will influence the overall atmosphere of your kitchen, so make sure it’s been well planned out. Many people stick with neutral colors for a cohesive look. But options like unexpected color combinations, accented walls or wallpaper may give your kitchen an exciting, personal touch, aligning with your overall kitchen remodel checklist.
Pro Tip:
White reflects light. Going with white, off-white, or beige colors for your kitchen can help expand the space by brightening up the entire area. Complement white with deep wooden elements and some metallic highlights.
Installing Doors, Windows, & Cabinets
As your kitchen starts coming together, the next thing you’ll want to do is install all the new doors and windows, following the correct order of kitchen renovation. This depends on how big of a structure change you are working with. If you’re keeping your pre-remodeled structure, this step might just mean wiping everything down and sealing any cracks. If your kitchen remodeling involves bigger changes like new windows, professional installation is recommended to avoid things like improper insulation jobs, reinforcing the importance of hiring kitchen remodel contractor experts.
Costs of Kitchen Installations
Before you get started on the kitchen remodeling process, it’s important to build an understanding of the costs you’ll be working with as part of your kitchen remodel cost breakdown. To help you get an idea of what to expect, we’ve collected the costs of some of the most important installations, separated by budget.
| Project Budget | Low ($5,000 - $15,000) | Medium ($15,000 - $30,000) | High ($30,000+) |
|---|---|---|---|
|
Appliances |
$100 – $300 per appliance |
$400 – $600 per appliance |
$700 – $900 per appliance |
|
Cabinets |
$1,200 – $3,200 |
$3,500 – $5,500 |
$6,500 – $8,500 |
|
Countertops |
$900 – $1,100 |
$2,100 – $4,100 |
$5,100 – $7,100 |
|
Faucet |
$130 – $230 per faucet |
$330 – $430 per faucet |
$530 – $630 per faucet |
|
Flooring |
$700 – $1,700 |
$1,800 – $2,800 |
$2,900 – $3,900 |
|
Sink |
$500 – $1,500 |
$1,600 – $2,100 |
$2,200 – $2,700 |

Plumbing Fixtures & Cabinet Installation
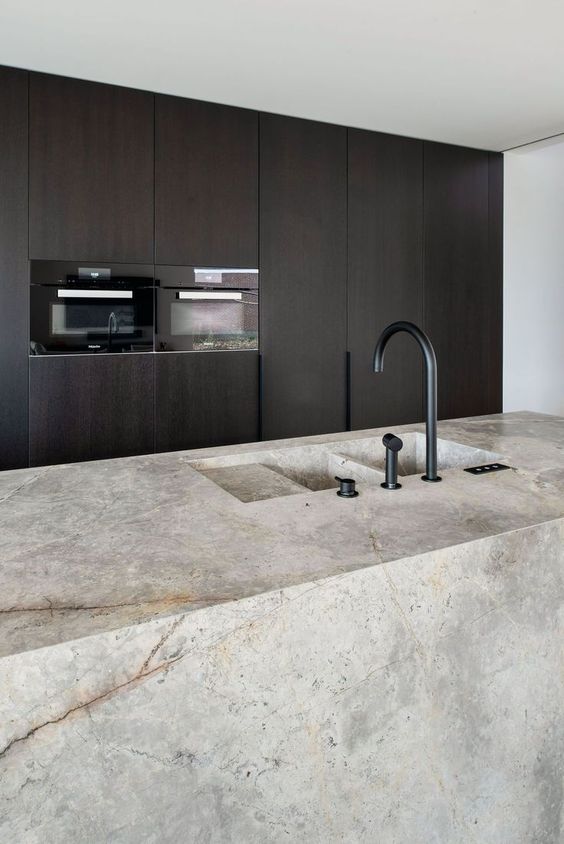
At this step, your kitchen is well on its way to completion. To continue, you’ll want to move on with installing your new cabinets. These are one of the most important elements of your kitchen, so make sure you’ve chosen them wisely. It’s worth spending time exploring different options, including layout possibilities and materials to use. Your cabinets also make up a large chunk of the overall remodeling budget, making them a key factor in your kitchen remodel cost breakdown. Investing in high-quality pieces will not only make sure your kitchen looks fantastic but will also save you lots of money in repairs and reinstallments down the line.
Time for New Appliances
After cabinets, plumbing, and countertops have been placed, it’s time for your new appliances to find their homes too. You’ll want to hire a professional electrician for things like installing your oven or rewiring your stovetops, which further highlights the importance of hiring kitchen remodel contractor professionals. This is also the time to install any extra additions you may have planned. Luxury design elements can do wonders for elevating your kitchen and turning it into an oasis rather than just another room.
Some design elements to consider for your kitchen could be a:
- Built-in water filtration system
- Hidden trash and recycling bins
- Built-in fridge
- Smart-Home features
- Drawer dishwasher
- Wine chiller
If you’re working with a contractor for the kitchen remodeling process, they’ll have a timeline for how long it should take to install all your appliances, helping define your overall kitchen remodel timeline. Once everything is in place, you can move on to the last real construction phase of the remodeling project.

Installing Your Flooring
This step is often a cause of debate among homebuilders. Some prefer doing it before completing cabinetry and installations as part of their kitchen remodel steps. Others say that leaving it to the end ensures that your flooring stays protected during the building process. Most contractors will evaluate the project at hand and decide on this step accordingly based on the order of kitchen renovation.
Inspection & Completion
If you worked with a contractor throughout your project, they will perform a final walk-through of the completed area as part of the kitchen remodel inspection process. Together, you’ll create a punch list of things that may need to be adjusted. Once you are completely satisfied with the final result, it’s time for one last official inspection, ensuring the kitchen remodel process explained is fully completed.
A contractor will make arrangements for your town inspection and handle the hassle of getting permits. If you’ve chosen to go the DIY route, you will need to get in contact with the inspectors yourself, which is an important step in DIY kitchen remodel steps.
Once the project is complete and final inspections have been ticked off, you’re all set to enjoy your new kitchen. Toast with friends and a glass of champagne, or cook your family their favorite dish. Reflect on everything you’ve accomplished, and enjoy the beautiful new addition to your home, all within your planned kitchen remodel timeline.
Kitchen Remodel Project Wrap-Up
You probably have a good idea now about what a kitchen remodeling process looks like. It’s important to remember that every kitchen is different, and your project may require different steps that we didn’t mention here. Working with a contractor can help ensure that you don’t miss anything and that your kitchen is remodeled to the highest standards, especially when following a complete kitchen remodel checklist. No matter the approach you take, making sure to plan well is the best way to avoid surprises along the way and get the results that you wanted.
Are you ready to start your kitchen renovation and expand your home with the kitchen of your dreams? At WA Construct, we remodel living spaces to create timeless masterpieces of the highest quality. Reach out to our team today, and let’s get to work on bringing the kitchen you’ve always envisioned to life with a fully optimized kitchen remodel process explained.

Kitchen Remodeling Frequently Asked Questions
Answer: This will depend on the scope of your project, including how much of the original kitchen you plan on demolishing and what kind of installations you’re looking to add. It also depends on how long your municipality takes to do inspections. Generally, a full remodel project will take between 6 and 9 weeks to complete, aligning with a typical kitchen remodel timeline. If you choose to remodel with WA Construct, we’ll provide a detailed timeline of our work process, so you’ll know exactly what to expect.
Answer: A kitchen remodel doesn’t require you to leave your house while it’s being done, but it will require some lifestyle adjustments. If an alternate housing option is possible during these weeks, we recommend it for your comfort. If you choose to stay, you’ll need to look into alternative cooking options like an outdoor grill or rely on meal deliveries for a while. But overall, it’s definitely possible to live in your home while your kitchen is being remodeled.
Answer: Absolutely. Although the two terms are often used interchangeably, they actually mean quite different things. A renovation involves giving your kitchen a bit of an update or a new look. This could look like repainting the walls, refacing the cabinets, or changing out a few old appliances.
A remodel, on the other hand, is much more transformative. With a remodeling project, you’ll end up with a brand-new kitchen that has little to no resemblance to your previous one. This usually involves demolishing old walls and adding new ones, installing new light fixtures and appliances, and even having your plumbing reconfigured.
Answer: A modern, updated kitchen is sure to raise the value of your home. Because the kitchen is such a focal point inside of a house, a quality design and well-maintained set of appliances will bring in a serious bang for your buck. The exact value added will depend on factors like how well you maintain the space, but a well-designed kitchen is always a major selling point when you’re looking to sell your home.